How to set up your AI assistant on a smartphone
Artificial intelligence assistants have become a standard feature on modern smartphones, offering a hands-free way to interact with your device. Whether you’re using Siri on an iPhone or Google Assistant on an Android device, the initial setup process determines how effectively the assistant understands your speech, accesses your information, and integrates with your daily routines. This guide provides a walkthrough of the foundational steps to configure your AI assistant, covering everything from activation methods to privacy settings. By following the process, you can establish a personalized interaction model that aligns with your usage patterns, all while maintaining control over your data.
The setup journey begins with accessing the assistant’s specific settings, which are typically located in your device’s main settings menu or within a dedicated app. The steps may vary slightly depending on the operating system and the version of the assistant you’re using, but the core principles remain consistent. This article outlines general configuration steps that apply to most smartphone AI assistants, with references to Siri and Google Assistant as examples. It is important to note that the exact options and toggles can change with software updates, so familiarizing yourself with your device’s current interface is a recommended first step.
Activating Your AI Assistant
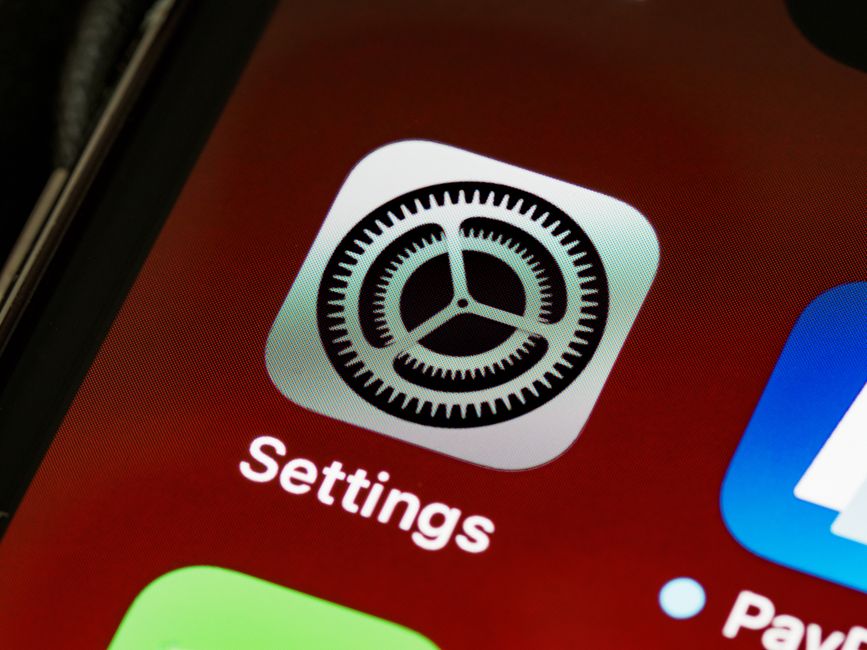
The first step in setting up your AI assistant is to ensure that it is properly activated. On both iOS and Android, assistants are typically enabled by default, but certain features may require manual activation. For Siri, you can check activation by navigating to Settings > Siri & Search, where you’ll find options to enable ‘Listen for Hey Siri’ and ‘Press Side Button for Siri.’ Similarly, on Android devices, Google Assistant is activated through the Google app or by long-pressing the home button or saying ‘OK Google.’ It is advisable to follow the on-screen prompts to complete the voice recognition training, which involves speaking specific phrases to help the assistant learn your voice patterns.
During the activation process, you may be asked to set up Face ID or a passcode to secure certain features, such as accessing personal information or making purchases. These measures contribute to the overall security of the assistant, ensuring that only authorized users can command it. Additionally, you can choose to enable the assistant on the lock screen, which provides convenient access but may conflict with privacy preferences. Weighing the trade-offs between accessibility and security is an individual choice, but understanding the options empowers you to make an informed decision.
Customizing Voice and Language Settings
Once your assistant is activated, the next step is to tailor the voice and language settings to match your preferences and regional usage. This includes selecting the language for voice input and output, as well as the specific accent or voice style. For instance, Siri offers multiple English variants, such as American, British, and Australian, each with distinct pronunciation and phrasing. Google Assistant similarly allows you to choose from a variety of voices and speeds, and in some regions, you can even select a voice that matches your gender preference.
Adjusting these settings is straightforward: on iOS, go to Settings > Siri & Search > Language, and choose from the list. On Android, open the Google app, go to More > Settings > Assistant > Languages. It is also possible to set the assistant to respond in a different language than the one used for input, which can be useful for bilingual users. Furthermore, investing time in training your assistant to recognize your specific speech patterns can improve accuracy. Both Siri and Google Assistant offer options to re-train voice recognition in their settings menus, which involves repeating a series of phrases to refine the acoustic model.
Managing Permissions and Privacy
Privacy is a significant concern when configuring an AI assistant, as these systems often require access to your contacts, location, calendar, and other sensitive data to function effectively. It is crucial to review and manage these permissions during setup and periodically thereafter. Both iOS and Android provide granular controls over what data the assistant can access. For Siri, you can manage permissions on a per-app basis under Settings > Siri & Search, toggling which apps Siri can use with SiriKit. Google Assistant’s permissions can be reviewed in the Assistant settings under ‘Your data & privacy,’ where you can adjust access to personal info and connected third-party services.
When granting permissions, consider the principle of least privilege: only allow access to the data that is essential for the tasks you intend to perform. For example, if you rarely use location-based queries, you might disable location access for the assistant to minimize tracking. Additionally, both platforms offer options to delete voice recordings and chat history. Siri allows you to delete Siri & Dictation history through Settings > Siri & Search > Siri & Dictation History. Google Assistant provides a ‘Delete activity’ option within its settings, allowing you to remove past interactions. Regularly clearing this data can help maintain a baseline of privacy, though it may also reduce personalization over time.
Configuring Personalization Features
To get the most out of your AI assistant, personalization features allow it to provide more relevant responses and suggestions. These features rely on data such as your contacts, app usage, and location history. On iOS, personalization is managed through ‘Siri & Search Suggestions,’ which can be enabled or disabled globally or per app. Turning on these suggestions allows Siri to proactively offer shortcuts, such as starting a workout when you arrive at the gym. Google Assistant offers a similar ‘Personal results’ feature, which can be enabled in Assistant settings, letting it access your calendar, emails, and other personal data to answer questions like ‘What’s my next meeting?’
Another personalization feature is the ability to set up routines or custom voice commands. For instance, Google Assistant allows you to create routines that trigger multiple actions with a single phrase, such as ‘Good morning’ turning on the lights, giving the weather, and reading your calendar. Siri has Shortcuts, which you can use to automate multi-step tasks using simple phrases. Configuring these features typically involves navigating the assistant’s settings and granting permission for the required data access. It’s recommended to start with a few routines and gradually expand as you become more familiar with the capabilities and privacy implications.
Integrating Third-Party Apps and Services
AI assistants become significantly more powerful when integrated with third-party apps and services. Both Siri and Google Assistant support integration with a wide range of apps, from music streaming and messaging to smart home devices and productivity tools. In iOS, SiriKit allows developers to integrate their apps with Siri, enabling you to use voice commands to send messages, make payments, or control smart home devices. To manage these integrations, go to Settings > Siri & Search, where you can see a list of apps with Siri support and toggle their availability. Google Assistant has a similar system through ‘Works with Google,’ which you can access through Assistant settings under ‘Services.’
When integrating third-party services, you may be required to sign in or grant additional permissions. It is important to review the terms and conditions and understand what data will be shared between the app and the assistant. For example, connecting a music app to Google Assistant enables voice playback, but the music app may receive location data if you use location-based features. By carefully selecting which services to connect, you can enhance functionality while maintaining control over your information. Additionally, both platforms allow you to disconnect services at any time, should you decide to revoke access.
Troubleshooting and Fine-Tuning
Even after a thorough setup, you may encounter issues where your assistant fails to respond correctly or inconsistently. Common troubleshoots include voice recognition problems, connectivity issues, or permission conflicts. A simple first step is to check your internet connection, as assistants rely heavily on cloud processing for queries. If voice recognition is problematic, consider re-training the voice model or adjusting the language settings. For persistent issues, both Apple and Google provide support documentation and in-app feedback mechanisms.
Fine-tuning your assistant involves reviewing your settings periodically and experimenting with different options to see what works best for your usage patterns. For instance, you might try modifying the assistant’s voice speed if you find it too fast or too slow. You can also provide feedback on responses using the thumbs up/down buttons in the assistant’s interface, which helps update the underlying algorithms. By taking an active role in the setup and adjustment process, you can create a more efficient and personalized interaction with your AI assistant.
Remember that the capabilities of AI assistants are continually evolving, and the configuration steps described here are based on the current state of technology. Regular updates to your device’s operating system and apps may introduce new features, so it is beneficial to stay informed about changes in settings and privacy policies.
In summary, setting up an AI assistant on your smartphone involves a series of deliberate actions to activate the assistant, customize its voice and language, manage permissions, enable personalization, integrate apps, and troubleshoot any issues. Each step contributes to a user experience that is both convenient and respectful of privacy. By taking the time to understand and configure these elements, you can harness the potential of your AI assistant effectively, while remaining mindful of the trade-offs inherent in delegating tasks to a digital voice.